
Every Shelf in the Chemistry Lab, and the One Job Each Tool Does Best
A working tour of chemistry lab equipment and techniques: what each tool does best, how to measure well, and how to separate what you made.
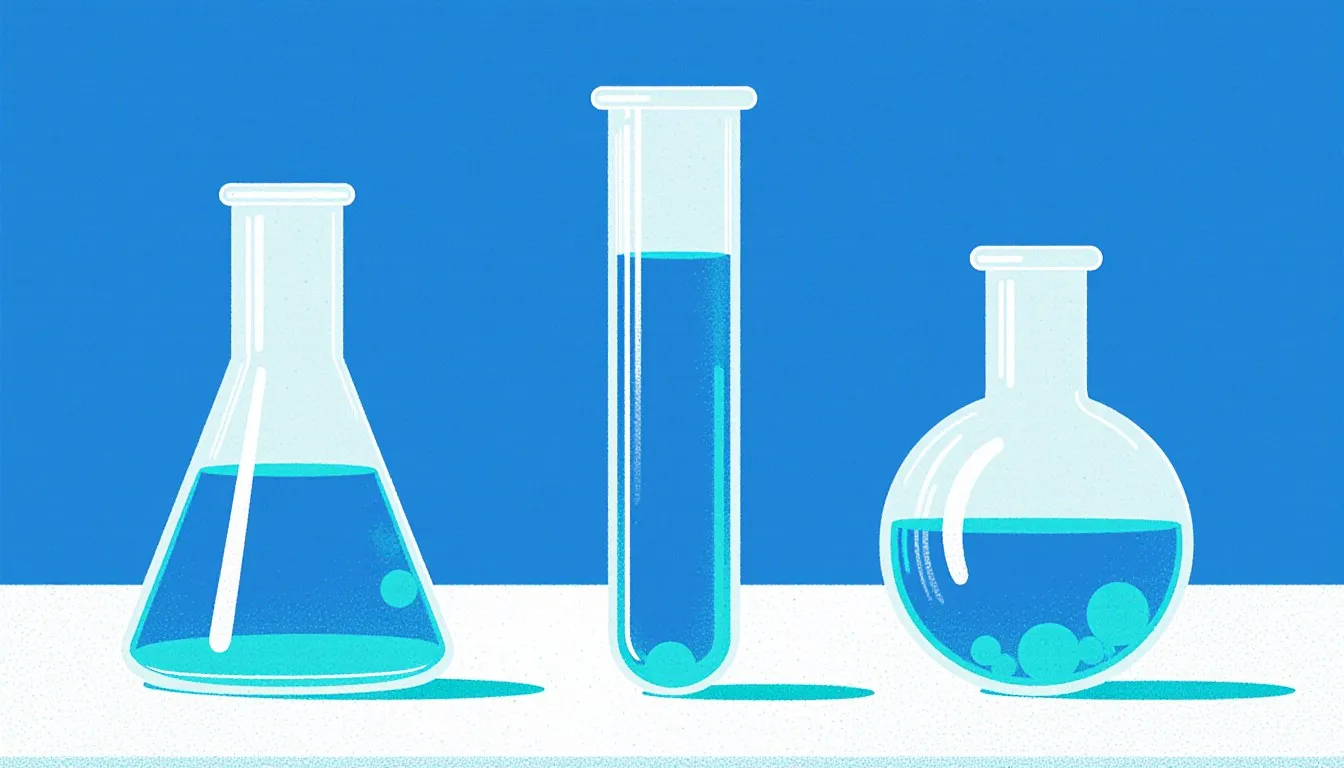
A stocked chemistry bench holds maybe thirty distinct objects, and every one of them exists to solve one of five problems: measure it, hold it, heat it, separate it, or keep it from hurting you. Sort the room that way and the vocabulary stops being a list to memorize. A beaker and a volumetric flask are both glass containers with volume marks on them, and you would never use one for the other’s job, because one is built to be poured out of and the other is built to be filled to a single line at a single temperature.
What follows is the walk I would give a first-year class on the first day, shelf by shelf, with the reason each thing is shaped the way it is. Where a tool or a method deserves more room than a tour allows, I have said so and pointed you onward.
What does a chemistry lab actually need, and why does it look the way it does?
Stand in the doorway of any teaching lab and the layout tells you what the room is afraid of. The fume hood sits against the back wall with its sash like a guillotine window, because vapors are the hazard you cannot see coming. The eyewash and safety shower sit near the door on an unobstructed path, because a person who needs them will not be seeing well enough to navigate around a stool. The benches are epoxy resin or soapstone rather than laminate, since both shrug off acid. The sink has a drying rack over it. Somewhere there is a fire blanket that everyone hopes stays folded.
The equipment itself sorts into five families, and once a student has that scaffolding, a new piece of apparatus usually announces which family it belongs to just by its shape:
- Measuring: graduated cylinders, pipettes, burettes, balances, thermometers. Narrow, marked, and fussy.
- Containing and transferring: beakers, flasks, test tubes, funnels, watch glasses, wash bottles. Wide-mouthed, cheap, replaceable.
- Heating: hot plates, Bunsen burners, water baths, crucibles, ring stands and clamps.
- Separating: filter paper and funnels, distillation glassware, separatory funnels, centrifuges.
- Protecting: goggles, gloves, the fume hood, tongs, and the aprons or lab coats that nobody wears in movies and everybody wears in real rooms.
Glass dominates because of what it refuses to do. Borosilicate glass barely expands when heated, so it tolerates a temperature swing that would crack ordinary soda-lime glass, and it stays chemically indifferent to almost everything you will pour into it. It is also transparent, which matters more than students expect. Half of practical chemistry is watching: for a color change, for the moment a precipitate stops forming, for the first bubble that says a liquid has started to boil.
Which glassware shows up on every bench, and what job does each piece do?
Divide the glassware drawer in half before you learn a single name. On one side sits general-purpose glassware, which holds and pours and gives you a rough idea of volume. On the other sits precision glassware, calibrated by the manufacturer to a stated tolerance, usually at a stated temperature near room temperature, since liquids expand and the glass does too.
The graduation marks on a beaker belong firmly to the first category. They are there so you know roughly how much solvent you have splashed in, not so you can report a volume. If a lab report ever cites a volume measured in a beaker, that number is decoration.
General-purpose glassware
- Beakers: straight sides, a pouring spout, a flat bottom that sits on a hot plate. Good for dissolving, mixing, heating, and holding. The spout also lets you rest a watch glass on top without sealing the vessel, which is how you cover something that is being heated.
- Erlenmeyer flasks: the cone, named for the German chemist Emil Erlenmeyer, is the single best-designed object in the room. The wide base is stable, the sloping walls let you swirl vigorously without throwing liquid over the rim, and the narrow neck slows evaporation and takes a stopper. This is why titrations happen in one.
- Test tubes: small-scale reactions where you only need to see whether something happens. Cheap enough to be sacrificial. Heat them at an angle in the flame, mouth pointed away from every human in the room, because a superheated pocket at the bottom will fire the contents out like a cannon.
- Funnels and watch glasses: transferring solids into narrow necks, covering beakers, evaporating a few drops of solution to see what it leaves behind.
Precision glassware
- Volumetric flasks: one line on a long neck, and that neck is long and thin precisely so a millimeter of error costs you almost nothing in volume. Built to contain a stated volume, not to deliver it, so you make a solution up to the mark in one and then measure portions out of it with something else.
- Volumetric pipettes: a single bulb, a single mark, built to deliver. The small drop left in the tip when it drains is accounted for in the calibration, so blowing it out actually makes the delivery wrong.
- Graduated (Mohr) pipettes: marks along the stem for variable volumes, less accurate than a volumetric pipette, far more flexible.
- Burettes: a long graduated tube with a stopcock, built to deliver a variable volume you read as a difference between two numbers.
Use a pipette bulb or pump. Every generation of students hears that mouth pipetting used to be routine and finds it hilarious; it stopped being routine because people got sick and some of them died. There is no substance safe enough to make the habit worth restarting.
One naming note, since students reasonably expect the field to be tidier than it is. IUPAC’s naming conventions are strict about compounds, right down to which locant gets the lower number, and glassware never got the same treatment. Most pieces carry the name of whoever popularized them, which is why the equipment list reads like a nineteenth-century German faculty roster. The ground-glass joints that connect distillation apparatus, on the other hand, are standardized to real numbers you will see stamped on the glass, and a 24/40 joint from one supplier mates with a 24/40 from another.
How do chemists measure volume, mass, and temperature accurately?
Three instruments carry nearly all of it, and each has one habit that separates a usable number from a wasted afternoon.
For volume, the workhorse is the graduated cylinder, and the habit is reading it at eye level. Water climbs the glass wall slightly by surface tension, forming a curved surface, and the convention is to read the bottom of that curve. Look down at it from above and you will read high; crouch and look up and you will read low. The error is pure geometry, it repeats every single time, and it is the single most common reason two students at the same bench get different answers from the same liquid. If two trials disagree and nobody touched the balance, go and read up on the graduated cylinder: stated tolerances, meniscus reading, and the cases where it is the wrong tool entirely.
For mass, there are two balances and they are not interchangeable. A top-loading balance reads to a hundredth of a gram, sits out in the open, and is fine for weighing out a few grams of salt. An analytical balance reads to a tenth of a milligram, which is 0.0001 g, and lives inside a glass draft shield because at that resolution a person walking past is a source of error. Two rules govern both: tare the container first and never put a chemical directly on the pan, because a residue you cannot see is somebody else’s ruined result next period. And never weigh a hot object. The warm air rising off it pushes up on the pan, and the balance faithfully reports a mass lower than the truth.
For temperature, the instrument has to match the range and the medium. A liquid-in-glass thermometer wants to be immersed to its marked immersion depth, with the bulb suspended in the liquid rather than resting against the hot glass at the bottom of the flask, where it will read the heat source instead of the sample. A thermocouple handles ranges that would boil the liquid out of a glass thermometer; an infrared thermometer reads only a surface, and reads it wrong if the surface is shiny. Pick the wrong one and your temperature record is fiction, so if you are unsure which belongs in your experiment, sort that out with the types of thermometers before you light anything.
How do you know a measurement is actually reliable?
By measuring the same thing more than once and looking at how far apart the answers land. One number from one trial tells you nothing about its own quality. Three trials tell you something, and five tell you more.
Separate two ideas that students routinely fuse. Precision is how tightly your repeated results cluster. Accuracy is how close they sit to the true value. A miscalibrated balance that reads 0.15 g heavy every time will give you beautifully precise results that are all wrong together, and no amount of repetition will reveal it, because the error is systematic rather than random. Random error scatters your results and averaging beats it down. Systematic error shifts them all the same direction and averaging does absolutely nothing, which is why instruments get calibrated against known standards instead of just used carefully.
To put a number on precision, chemists divide the standard deviation of a set of trials by the mean of that set and express it as a percentage. That figure, relative standard deviation, is useful because it is dimensionless: a spread of 0.02 g is alarming on a 0.5 g sample and irrelevant on a 500 g one, and the percentage says so immediately. Analytical methods are commonly judged against a threshold for it, with tighter demands on trace work than on a routine assay. If you want the arithmetic worked through with sample data, the full explanation of relative standard deviation covers it properly.
The related discipline is significant figures, which are the honest bookkeeping of all this. A balance reading to 0.0001 g gives you a mass with that many decimal places and no more; dividing it by a volume read off a graduated cylinder cannot manufacture extra certainty in the answer. A result reported to eight digits because that is what the calculator displayed announces to any reader that the student did not think about the instrument.
How do you find the density or volume of an odd-shaped object?
You drop it in water and watch the level rise. The volume of liquid pushed out of the way equals the volume of the object, whatever its shape, and a graduated cylinder measures that displaced volume directly: read the level before, read it after, subtract. Weigh the object on a balance, divide mass by volume, and you have its density.
The method is old and the logic is airtight, which is exactly why the ways it fails are worth knowing in advance. Air bubbles clinging to a rough surface read as extra volume, so tip the object in gently and tap the cylinder. Anything porous drinks water and reports too small a volume. Anything soluble is a bad candidate for a water bath and needs a liquid it ignores. And something that floats has to be pushed under with a thin wire or weighted with a sinker whose own volume you have already measured and subtract afterwards.
Both halves of that get worked through properly elsewhere: the displacement measurement itself, step by step, and then the arithmetic of turning mass and volume into a density you can report. The reason it belongs on an equipment tour at all is that it is the cleanest example of the lab’s general habit of measuring what you cannot reach by measuring something else that has to change with it.
What equipment handles heating, filtering, and separating mixtures?
Heating splits into open flame and closed element, and the choice is usually made for you by what is in the vessel.
A Bunsen burner mixes gas with air at an adjustable collar at its base. Close the collar and you get the luminous yellow flame, cool and sooty, visible from across the room, which is the flame you leave it on when you are not actively using it. Open the collar and the flame turns pale blue with a sharp inner cone, and the hottest region sits just above the tip of that cone rather than down in the middle of it. That flame is hot enough to soften glass tubing and to bring a crucible to red heat. It is also nearly invisible in bright light, which is how people burn their hands on a lit burner they thought was out.
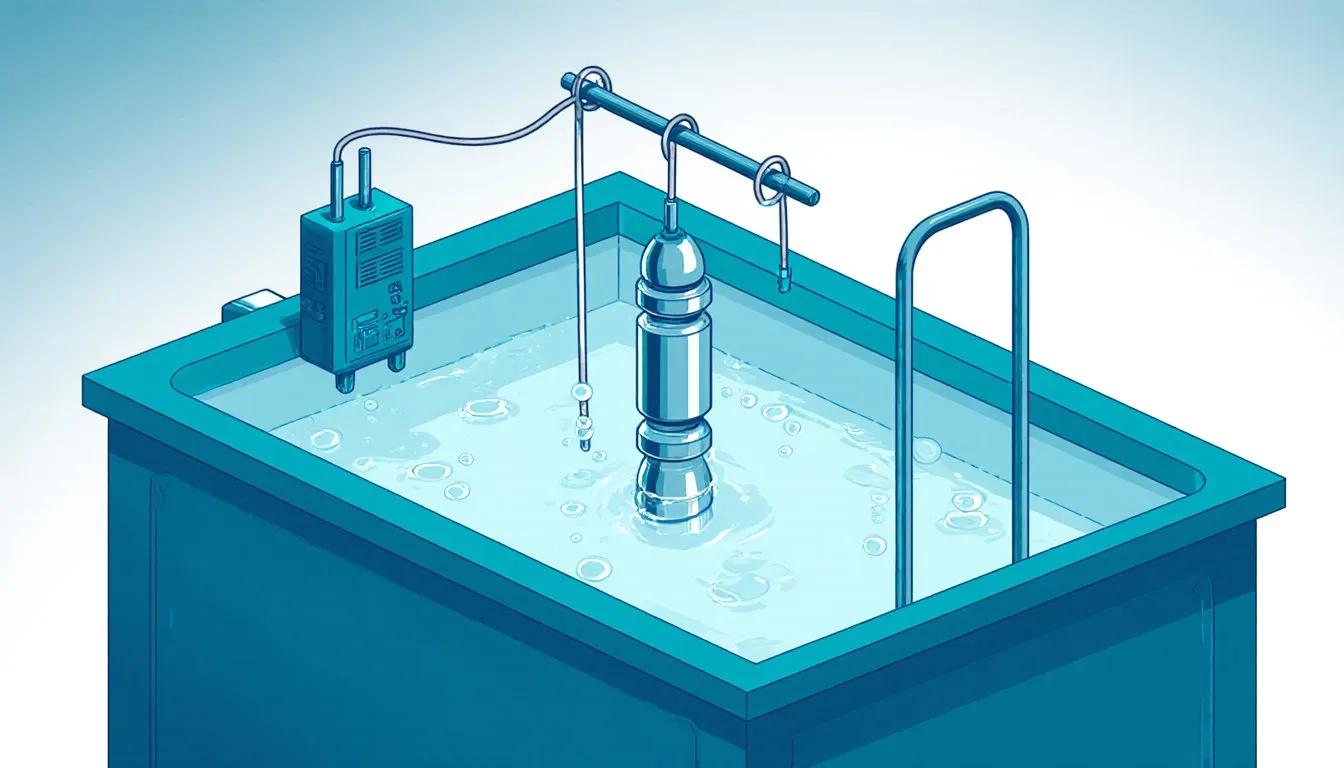
A hot plate has no flame, which makes it the only correct choice anywhere near a flammable solvent. Ethanol, acetone, and diethyl ether have no business within reach of an open burner, and ether’s vapors are heavy enough to travel along a bench to an ignition source you thought was safely distant. When something needs gentle, even heat below the boiling point of water, a water bath on a hot plate beats both, and it cannot overshoot past 100 °C at sea level no matter how impatient you get.
Around the heat sits the supporting cast: the ring stand and its clamps, the iron ring and wire gauze that spread flame heat across a beaker’s bottom, and the tongs. Crucible tongs have long arms and curved, ridged tips that grip a small ceramic dish at red heat; beaker tongs have wide flat jaws sized for a beaker’s wall and are not a substitute. Picking up hot glass with the wrong tool is how it ends up in pieces, and read up on the uses of crucible tongs before your first gravimetric experiment.
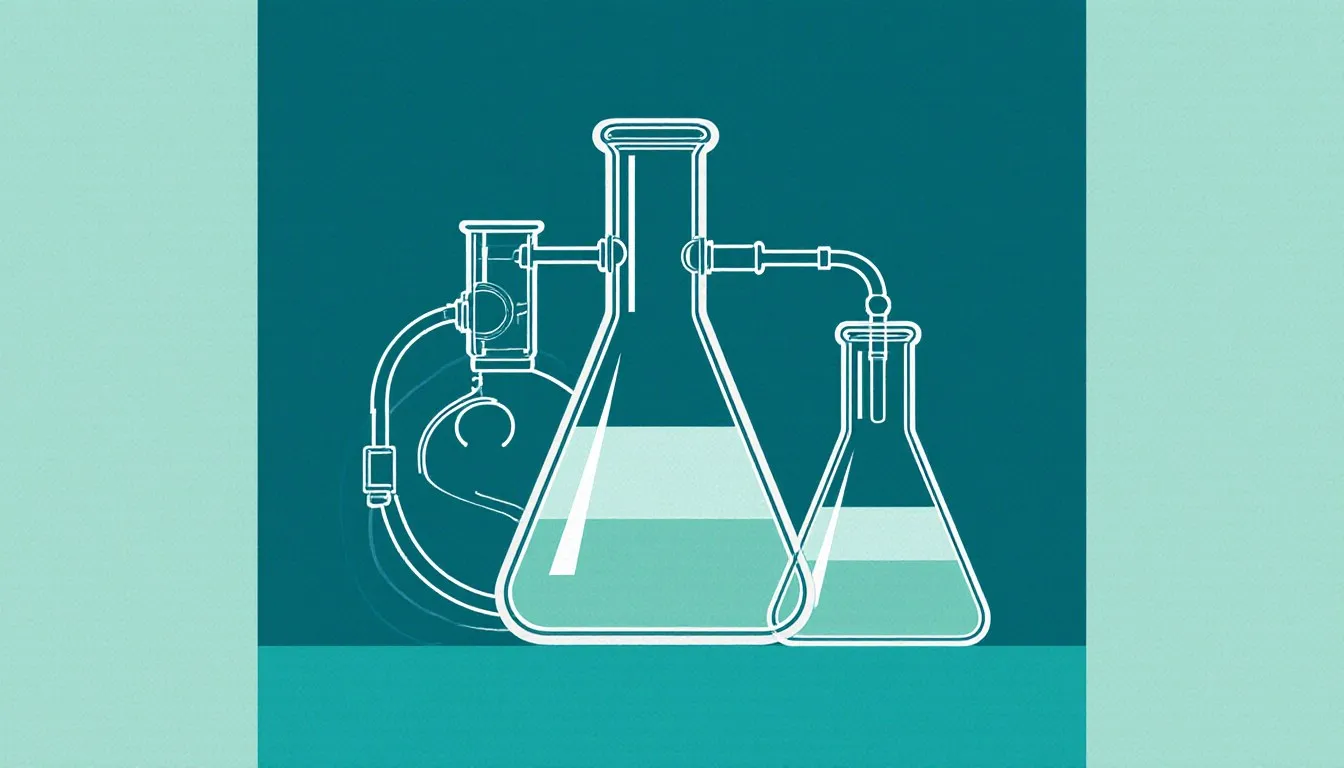
Filtration is the other half of the shelf. Gravity filtration is a cone of filter paper in a funnel, and folding it into a fluted cone rather than a plain quarter-cone gives the liquid far more surface to pass through. Vacuum filtration is faster and dries the solid as it goes: a Buchner funnel with a flat perforated plate, a disc of filter paper wetted down so it seals against the plate, and a thick-walled side-arm flask connected to a vacuum source. The suction pulls solvent through in seconds where gravity would take twenty minutes. Getting a clean seal takes practice, and breaking the vacuum in the wrong order pulls filtrate back up through the paper you just filtered it out of, so read up on the buchner funnel before you rely on one.
How do chemists separate and purify substances?
Nearly every purification hunts for one physical property in which your target differs from everything else in the flask: boiling point, solubility, or how a compound divides itself between two liquids that refuse to mix. Think of it the way you would sort a bucket of mixed hardware, by running it over a screen sized to let the small bolts through and hold the big ones back. The analogy carries you exactly one step: a screen sorts things once and cleanly, while every method below sorts by degree, moving most of your target one way and most of the impurities the other on each pass. That is why purification is usually repeated rather than done, and why chemists talk about enrichment instead of separation.
Distillation works on boiling point. Heat a mixture, collect and condense the vapor, and the vapor is richer in whatever boils more easily. A simple setup, one flask and a condenser, is enough when the components’ boiling points are far apart. Bring them closer together and simple distillation stops separating anything useful, because each is contributing meaningfully to the vapor. Fractional distillation solves that with a packed column between flask and condenser, where vapor condenses and re-evaporates over and over on its way up, each cycle enriching it a little more. The impatience shows up in the data every time: crank the heat to fill the receiving flask faster and the vapor rushes the column without ever re-condensing, so the fraction you collect is the same mixture you started with, just warmer. The comparison of fractional vs simple distillation lays out where the crossover sits and the broader survey of types of distillation covers the vacuum and steam variants.
Then there is the case that breaks the rules. Some mixtures reach a composition where the vapor has exactly the same makeup as the liquid, so distilling it changes nothing at all. Ethanol and water do this at roughly 95% ethanol by mass, which is why ordinary distillation cannot produce dry ethanol no matter how tall the column. Students meet this as a wall rather than a fact, usually by insisting the apparatus is leaking, and the honest answer is that the mixture has stopped cooperating with the method. Getting past that ceiling means changing the system chemically, and azeotropic distillation is the method built for exactly that problem.
Solvent extraction works on solubility across two immiscible layers. Shake an aqueous solution with an organic solvent in a separatory funnel, and each compound distributes itself between the layers according to how much it prefers one over the other; drain the bottom layer through the stopcock and you have physically split them. Vent the funnel frequently while shaking, since mixing a volatile solvent with an aqueous phase builds pressure fast and a stopper leaving under its own power is a genuine hazard. Two things go wrong before anyone gets to the chemistry. Someone shakes hard with the stopcock pointing at their bench partner, and someone loses track of which layer is which and pours the wrong one down the sink. Ask yourself which liquid is denser before you open the stopcock, and if you cannot say, keep both layers in labelled beakers until you can. I have watched a whole afternoon’s product go into the drain in about a second and a half. Partition coefficients, and why three small washes recover more than one big one, belong to solvent extraction proper.
Salt crystallization works on the way solubility falls as a solution cools. Dissolve an impure solid in the smallest volume of hot solvent that will take it, then cool it slowly, and the target compound comes out of solution as ordered crystals that exclude the impurities, which stay dissolved in the remaining liquid. Cool it fast and you get a fine powder that traps everything, which is why patience is the actual technique here. There is always one bench that reaches for the ice bath the moment the flask comes off the heat, and their yield looks wonderful on the balance because the impurities came along for the ride. Set it on a cork mat, leave it alone, and go write up your masses while it works. The full method sits in the article on salt crystallization.
What other core lab techniques should you recognize?
Titration is the standard way to find an unknown concentration. Deliver a solution of known concentration from a burette into a measured volume of the unknown until an indicator changes color, then work backwards through the reaction’s stoichiometry. The skill is in the last few drops. The equivalence point is the chemically exact moment the reaction completes; the endpoint is when your indicator decides to tell you about it, and the gap between the two is a small systematic error you can shrink by choosing an indicator whose color change falls where the pH is swinging fastest. Slow the flow to half-drops as the color starts flashing and persisting for a second before it fades. Students always overshoot the first one. Everyone does.
Heating to constant mass is the quiet backbone of gravimetric work. Heat a sample, cool it in a desiccator so it does not pull water back out of the air, weigh it, and repeat the whole cycle until two consecutive masses agree. That agreement is your evidence that everything volatile is gone, and it is the reason a hydrate experiment takes two class periods instead of one.
Evaporation drives off solvent to recover a dissolved solid, usually in an evaporating dish over a water bath rather than over direct flame, because a dish taken to dryness over a burner will spatter your product across the bench. Take it off the heat while a trace of liquid remains and let residual warmth finish the job.
Some techniques are processes rather than manipulations, and electroplating is the classroom example worth knowing. Pass a current through a solution containing metal ions, and the ions gain electrons at the cathode and deposit as a solid metal layer on it. Zinc plating is the version industry uses at enormous scale to protect steel, and if you want the cell setup, along with the reason the coating keeps protecting the steel underneath even after it gets scratched, look at the zinc electroplating process.
Where do you look up constants, formulas, and conversions mid-experiment?
Nobody memorizes this material, and pretending otherwise is how errors get baked into a procedure before it starts. Mid-experiment you will need molar masses, solubility figures, densities, boiling and melting points, common ion charges, and the handful of formulas that convert between what you measured and what you actually want to report. Working chemists keep a reference within arm’s reach and use it constantly.
Two students once weighed out sodium carbonate for a standard solution using 106 g/mol, which is the right molar mass for the anhydrous compound and the wrong one for the bottle in their hands. That bottle was washing soda, sodium carbonate decahydrate, ten waters of crystallization along for the ride, 286 g/mol. Every one of those waters got weighed and not one of them reacted. Their solution came out at well under half the concentration written on the label they had just taped to the flask, and they found out an hour later, when the titration ran long and kept running and they started blaming the burette. Fifteen seconds with a table, at the balance, would have caught it.
So look things up before you weigh, not after. A molar mass caught wrong at the calculation stage means the whole run gets repeated; caught at the weighing stage it costs you thirty seconds and a little pride. Read the bottle rather than your memory of the compound, since hydrate and anhydrous forms sit side by side on the shelf under nearly the same name, and check the units on anything you have converted. A compiled chemistry reference table gives you the standard values in one place, which beats hunting three of them across four browser tabs with gloves on.
What safety habits does every piece of equipment assume?
Splash-proof goggles, from the moment you enter until the moment you leave, on every person in the room and not only the one doing the pouring. Regular eyeglasses are not goggles. Ventilation for anything that produces vapor, fumes, or dust, which in practice means a working fume hood with the sash at its marked height. Closed-toe shoes, long hair tied back, no loose sleeves near a flame. No food, no drink, no water bottles on the bench. Anyone under eighteen works under direct adult supervision, and nobody of any age works alone.
When diluting a concentrated acid, add the acid to the water, slowly, never the reverse. The heat of mixing is large enough to flash a small amount of water to steam, and water poured onto concentrated acid can spit boiling acid straight back at your face.
Never combine household bleach with an acid or with ammonia, and never improvise a mixture to see what happens. Both of those combinations release toxic gas at room temperature with no equipment required. Know before you begin where the eyewash, the safety shower, the fire extinguisher, and the exit are, and know the waste routine for what you are making, because the drain is not a disposal method for most of it. Label everything you set down; an unlabeled beaker is a mystery, and mysteries go in the hazardous waste bin, along with all the work that went into them.
Treat all of that as the floor. The full set of chemistry lab safety rules is what to read properly before a first session, not skim afterwards.
How do these tools and techniques fit together in a real experiment?
Take one ordinary task: purifying a sample of crude rock salt into clean sodium chloride crystals. Every family of equipment shows up, in order, and the sequence is the point.
- Measure. Weigh the crude sample on a balance, taring the weighing boat first. Record the mass to every digit the instrument gives you.
- Contain and dissolve. Warm the sample in a beaker with the smallest volume of distilled water that dissolves the salt. Excess water is not neutral here; you have to boil all of it off later.
- Separate the insolubles. Gravity-filter through fluted paper to catch the sand and grit, or pull it through a Buchner funnel if the sand is fine enough to clog a cone.
- Concentrate. Reduce the filtrate on a hot plate in an evaporating dish until crystals begin to appear at the edges. Then stop heating.
- Crystallize. Let it cool slowly and undisturbed. Fast cooling gives you a fine powder with the impurities locked inside it; slow cooling gives you crystals that grew selectively.
- Isolate and dry. Filter the crystals off, rinse with a minimum of cold solvent, and dry to constant mass.
- Judge the result. Weigh the product, compute percent recovery against your starting mass, and run the whole thing in triplicate so you can calculate how well the three trials agree.
That last step is what turns a procedure into an experiment. Running it three times gives you a spread, and the spread is what lets you say how much confidence your recovery figure deserves: three trials landing within a percent of each other mean something quite different from three scattered across fifteen. Most of what a chemistry course teaches underneath all the glassware is how to earn that spread and then report it honestly.
Pick one technique from the list above and go deep on it before your next lab session. Filtration is the fastest to get good at and pays off immediately. Titration rewards practice more than any other bench skill. And if you want the version that makes the whole room click, learn to read a graduated cylinder properly, then watch how many results in your class improve the week everyone else learns it too.
Nora Whitfield
Staff Writer
Nora Whitfield taught high-school chemistry and physics for twenty-eight years, and she has never once answered "when will I use this?" with a sigh. She believes any honest question about how the world works deserves an answer that is both correct and actually understandable.