



Incubating Duck Eggs at Home: It's Not as Difficult as it Sounds
The process of incubating duck eggs at home is easy and can be a rewarding experience. However, there are several important things you need to keep in mind, like using the right egg incubator, while trying to raise new ducklings at home.
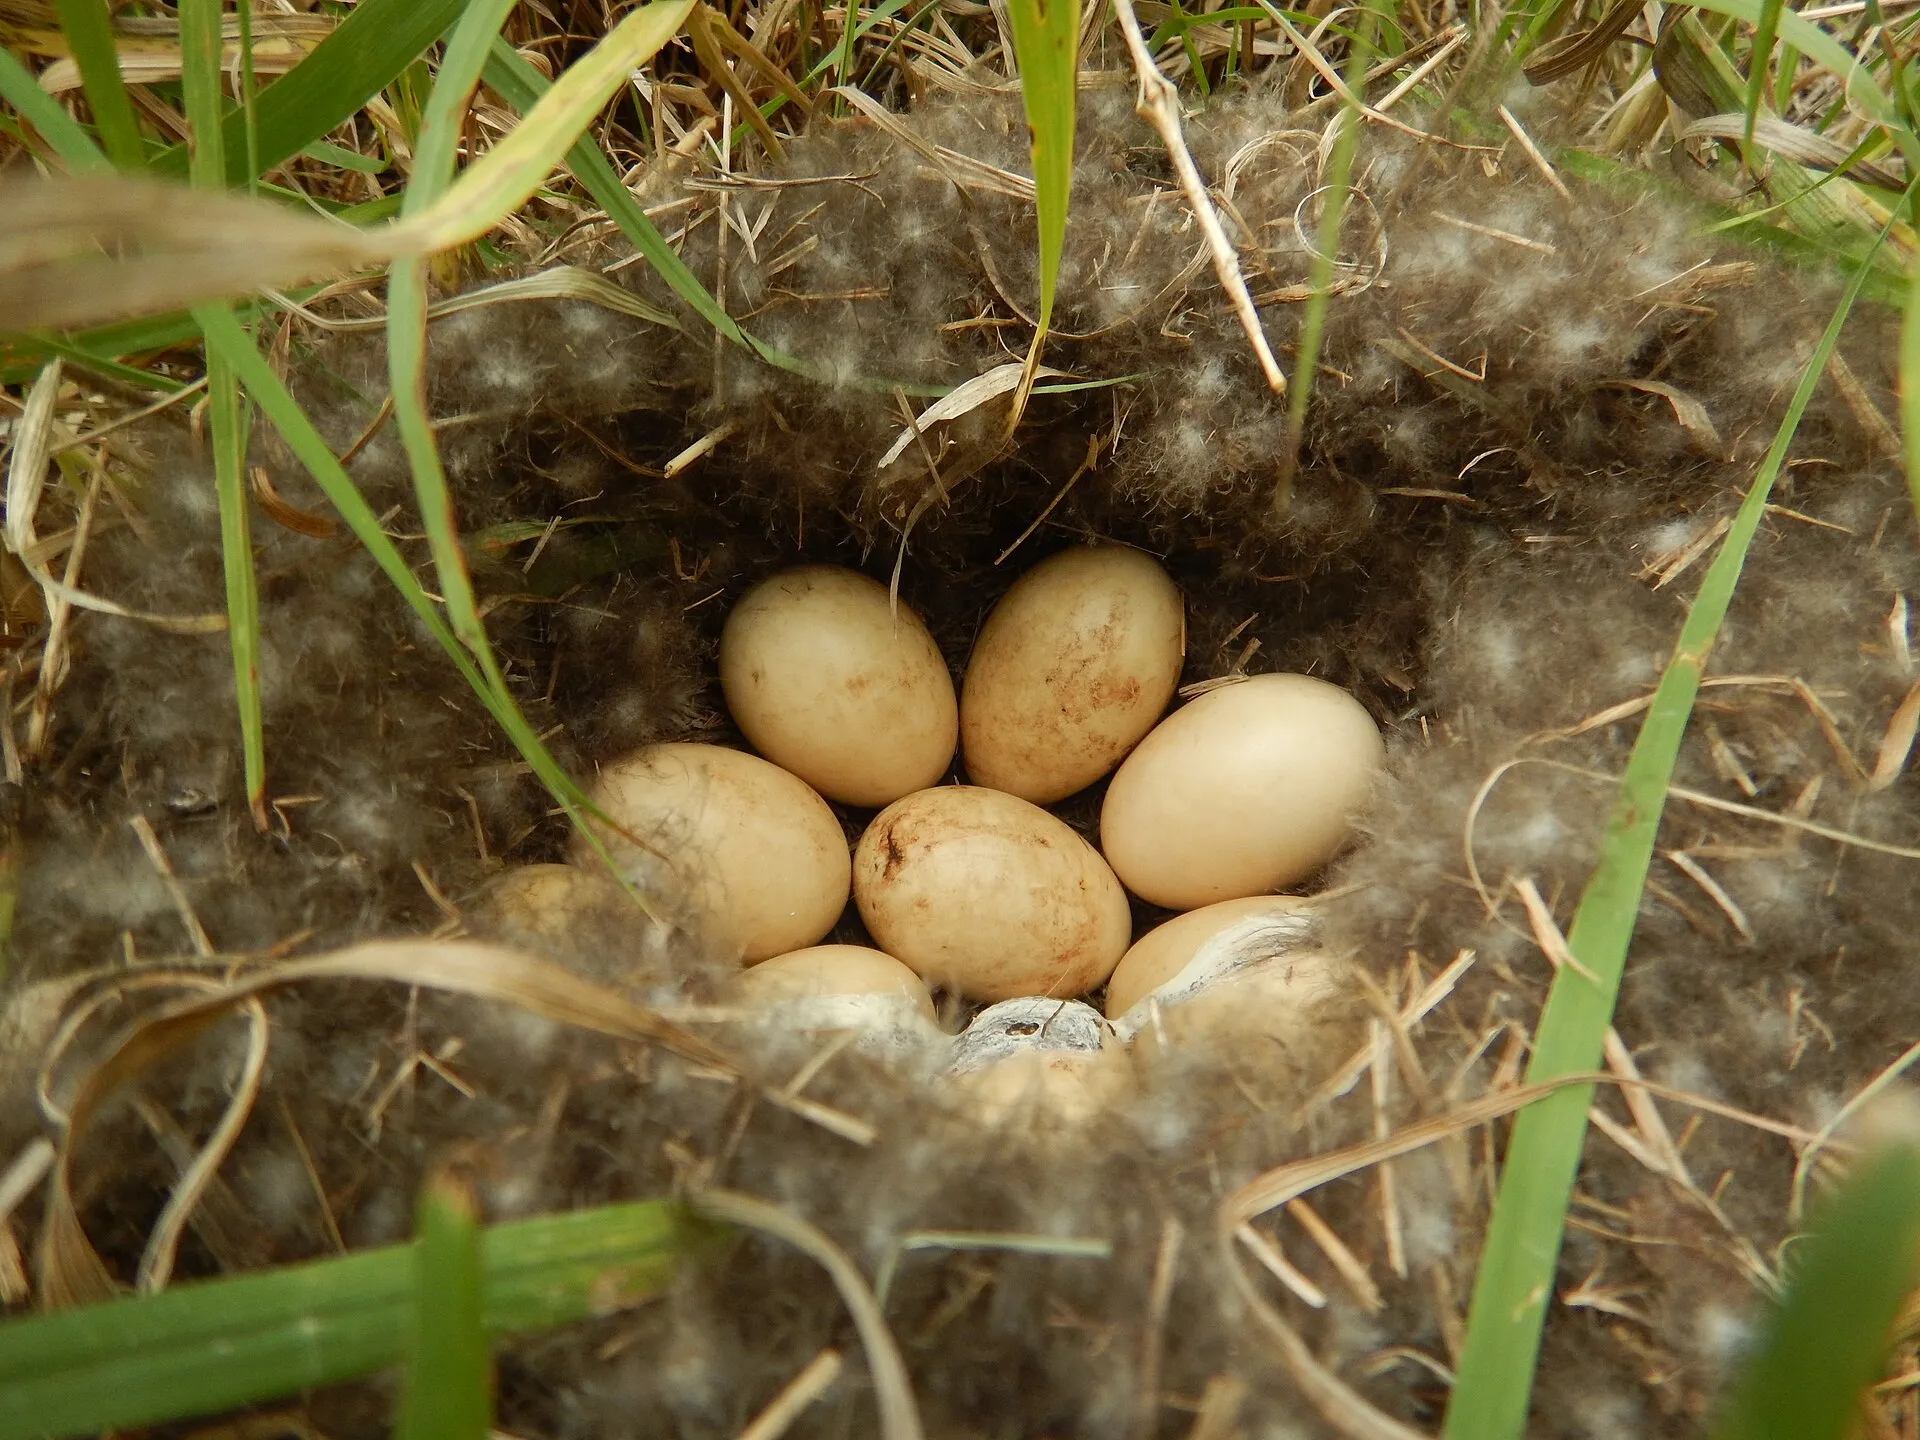
Whether you are incubating duck eggs or chicken eggs, the process for both is similar. However, you need to remember that both the species are different and provide conditions accordingly. Compared to chicken eggs, duck eggs are larger and as such, you need to provide larger setting trays to accommodate them. Usually, it takes 28 days for duck eggs to hatch, but it may vary as per the species you intend to breed, and the number of days required to hatch may go to more than 35.
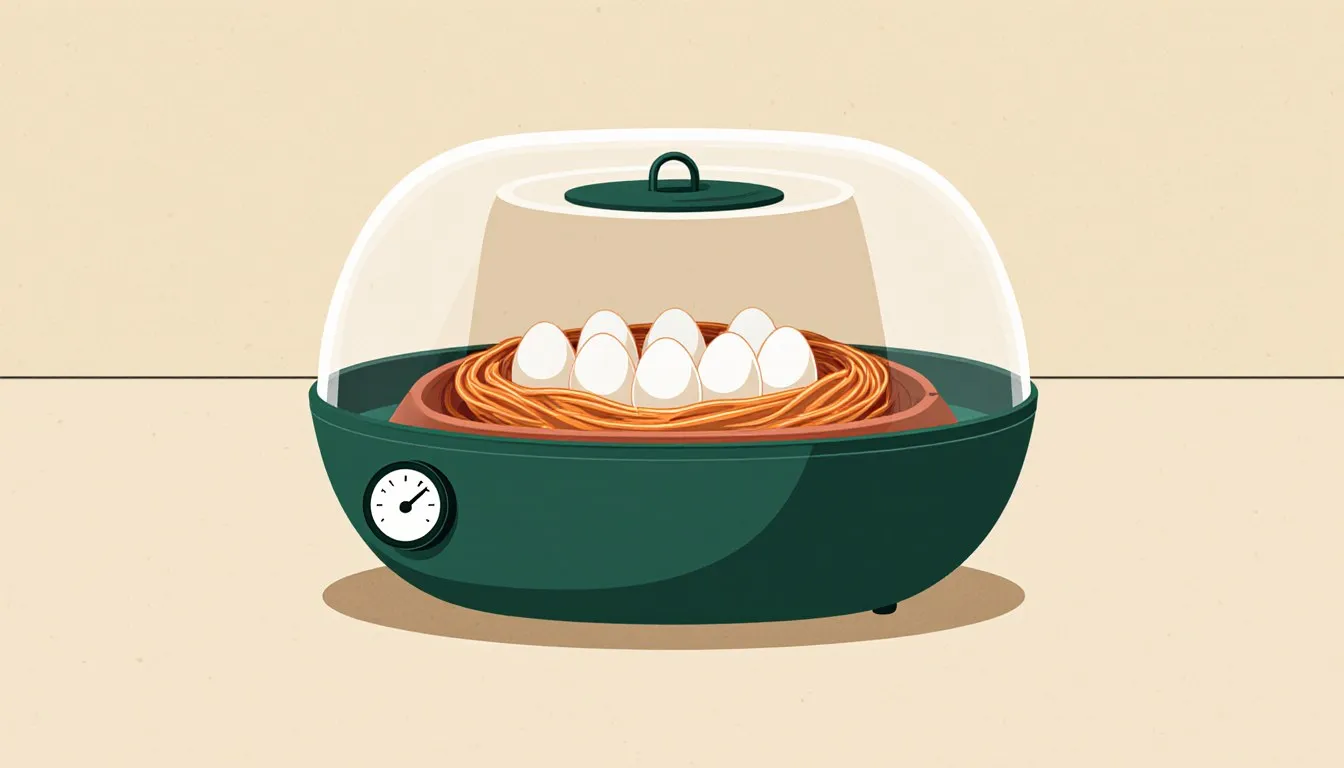
If you want to hatch a large number of eggs, then you can get a large commercial incubator and hatcher. The duck eggs are transferred to the hatcher about three to four days before the expected date of hatching.
Incubating Process
Once you have got the duck eggs and the incubator, you need to start it and let the humidity and temperature levels stabilize for about two days before you place the eggs in it. Once you have placed the eggs, measure the temperature by placing a thermometer half way on the side of the eggs, but make sure that you don’t touch them. The ideal temperature for incubating duck eggs is 37.5 °C with a humidity of 55% (you can measure the humidity with the help of a wet bulb thermometer). You also need to make sure that you provide enough ventilation so that the air keeps circulating. Moreover, you need to ensure that the eggs are turned frequently, at least four times every day.
Inspect the eggs carefully before you set them in the incubator. Eggs which are oversized, undersized, double yolked, or cracked should not be chosen for incubation. The eggs should be set in the incubator within a day to three days from them being laid, as they lose the capacity to hatch over time. While setting the eggs, see to it that they are placed with the smaller end facing downwards. If you have placed the eggs in a cool place, then take them out and place them at room temperature for a day before setting them in the incubator.
After about 7 days from placing the eggs in the incubator, check them by the process of candling so that you can remove the infertile or dead ones. Candling is the process wherein a bright light is allowed to pass through the eggs in a dark room. If you notice veins reaching the air sac, then it means that the egg is fertile. On the other hand, if there are no veins passing through, it means that the embryo has not developed and you can remove them. If the eggs are dark and blotchy inside, it means that they are infected and you need to remove them immediately. You need to keep candling the eggs at regular intervals till 3 to 4 days before hatching, so that you know whether they are healthy or not.
After about 25 days (if you are breeding a species which has an incubation period of 28 days), the eggs should be transferred to a tray that is specially-designed for hatching them. The temperature of the hatcher should be about 37 °C with a relative humidity of 65%. As the shells of the eggs start breaking and the young ones start coming out, the humidity should be set at about 70% and the temperature at about 36 °C.
Humidity Check for Incubating Eggs
It’s important to maintain a constant level of humidity throughout the incubation period as it helps in healthy growth of the embryos. Being porous, the eggshells lose moisture, thereby losing weight. The rate at which the egg loses weight depends on the humidity around. If the humidity levels are high, the weight loss would be less, and vice versa. As the egg loses moisture, the air sack increases in size, which provides the duckling with air to breathe.
Last but not the least, you should remember that you are the sole protector of the newly-hatched eggs. So you need to take good care throughout the process of incubating the eggs so that the ducklings are born healthy.